Start with the water, not the filter
The right filter depends on what you want removed, and that depends on where your water comes from. Wareham is served by two districts, the Wareham Fire District and the Onset Fire District, and many homes in town and in the surrounding towns draw from private wells.
Ask your district for its annual water quality report before buying anything. That report lists what was detected and at what level, and it is the only reliable basis for choosing between a basic carbon filter and a more targeted system.
What the two Wareham districts say about their water
The Wareham Fire District pumps from seven gravel-packed wells 60 to 90 feet deep in the Plymouth-Carver aquifer, adds lime to adjust pH, and uses sodium hypochlorite as the disinfectant at the wellfields. The Onset Fire District draws from four groundwater wells and uses sodium hydroxide for pH and corrosion control. A carbon filter handles chlorine taste and odor, but your district's report is the place to check anything else.
Source type: Wareham Fire District and Onset Fire District
Common under sink filter types
Each type does a different job. Match the type to the problem, and confirm with a lab test or your district's report.
| Filter type | What it targets | Space needed | Maintenance |
|---|---|---|---|
| Single carbon block | Chlorine taste and odor, some organics | One small canister | Replace the cartridge on the maker's schedule |
| Multi-stage with sediment pre-filter | Sand, rust flakes, and taste or odor | Two or three canisters | Replace pre-filter more often than the carbon |
| Reverse osmosis with tank | Dissolved solids and many contaminants | Tank plus drain saddle | Replace membrane and filters, sanitize periodically |
| Ultrafiltration | Particles and some microbes | One or two canisters | Replace the membrane module |
| Specialty media (such as lead or iron) | A specific contaminant you have tested for | One canister | Follow the rated capacity closely |
Tools and parts to gather
Most kits include the housing, tubing and a feed adapter. You will still need a few items from the shop.
- Adjustable wrench and a screwdriver set
- Teflon tape and a bucket with towels
- Drill with a bit sized for a new faucet hole, if the sink or counter lacks one
- Tubing cutter or sharp utility knife
- Cartridge wrench that fits your housing
- Flashlight and a way to mark stud or cabinet-wall positions
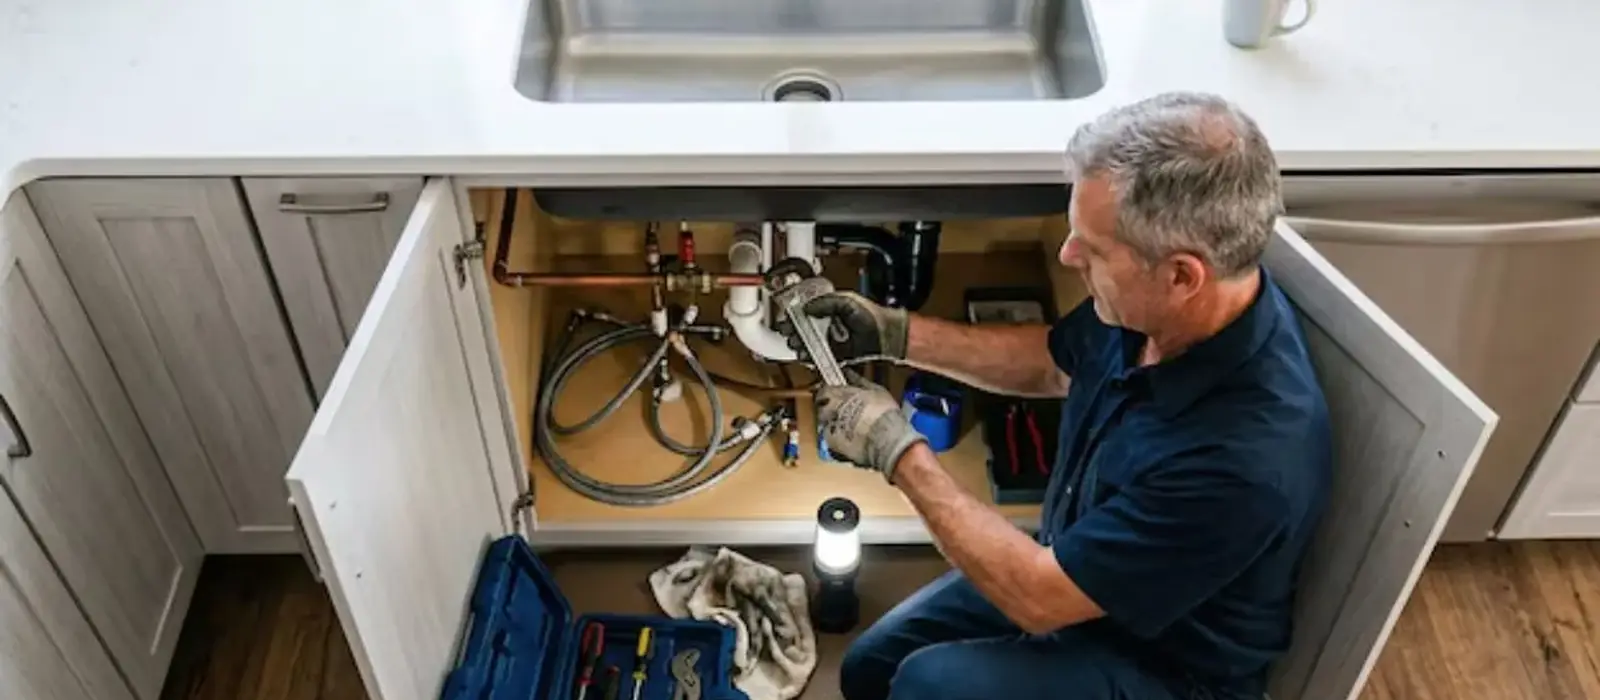
Check the cabinet first. The canisters need clearance below to drop the housing off when the cartridge is changed, and the dishwasher supply and drain lines often take up that space.
Installing the system in seven steps
Read the manual for your specific unit. These steps cover the typical order for a standard kit.
- 1
Shut off the cold water
Close the cold angle stop under the sink, then open the kitchen faucet to relieve pressure.
- 2
Mount the housing
Hold the bracket against the cabinet wall, mark the screw holes and fasten into solid backing so the full housing weight is supported.
- 3
Fit the feed adapter
Disconnect the cold supply line from the stop, thread on the adapter with Teflon tape, then reconnect the line. Hand tighten and add a quarter turn with a wrench.
- 4
Install the filter faucet
If you need a new hole, drill carefully through the sink deck. Stone and porcelain can crack, so a plumber should do those.
- 5
Run the tubing
Push tube ends fully into push-fit fittings. Keep the runs short, without kinks.
- 6
Flush the cartridges
Open the stop slowly, run water through the filter faucet for the time listed in the manual, and release trapped air.
- 7
Check for leaks
Dry every fitting with a paper towel, wait ten minutes, then check again. Recheck the next day.
Would rather not drill the sink?
A licensed plumber can mount the system, add the faucet and test every fitting. Call to book, with a clear price before any work begins.
Private wells: test first
Homes outside the district mains, including many in Carver and Rochester, rely on private wells with pressure tanks. Nobody monitors a private well for you, so water testing is your job. A state certified lab can test for bacteria, nitrates, metals and other items, and the result tells you what to filter.
A filter cannot replace disinfection if bacteria are present. If a test comes back positive, treat the well first and then add filtration under the sink. Power failures also stop a well pump, so keep a few days of drinking water on hand.
Under sink filter, whole house system or pitcher
Each has a role. Choose by what problem you are solving and how many taps need treatment.
Under sink filter
- Treats the drinking and cooking tap only
- Installs in a couple of hours at a single cabinet
- Dedicated faucet gives filtered water on demand
- Cartridge changes are quick and low cost per gallon
Whole house system
- Treats every tap, shower and appliance
- Sits at the main line and needs a plumber
- Handles sediment, iron or scale across the house
- Larger upfront job that involves cutting the main supply
When to hire a licensed plumber
Call a plumber if the shutoff valve is stuck or corroded, if the supply line is galvanized or in poor shape, or if you need a faucet hole in granite, quartz or porcelain. Reverse osmosis units also need a drain saddle on the sink trap, which should be done right to avoid a slow leak in the cabinet.
A plumbing installation visit covers the filter, faucet and supply fittings, and we explain the setup and give a clear price first. If your pressure drops or you find a wet cabinet after install, a water line repair or a quick leak detection check finds the source.
Keeping the system working after install
Write the install date on the housing with a marker and set a phone reminder for the first cartridge change. A spent carbon block stops removing chlorine taste but still passes water, so you may not notice it has quit.
Once a year, shut the stop, release the pressure at the filter faucet and look for drips at every push-fit connection. Replace O-rings in the housing whenever you change the cartridges, and wipe them with the food-safe lubricant the maker supplies. A cabinet that smells musty is the early sign of a slow leak.
Permits and the code
Under 248 CMR 3.05, a permit is generally required before plumbing is installed, altered or replaced, and it is pulled by a licensed plumber. Changing a cartridge or repairing a leak at a fitting does not need one. Ask Wareham inspectional services if your project changes the supply piping.
What to do before installing a filter
A few steps reduce damage and risk, and they apply whether or not a plumber is on the way.
- Turn off the cold supply at the stop under the sink and open the faucet to release pressure.
- Clear the cabinet, lay a towel down and keep a small bucket under the work area.
- Do not drill through a countertop or cabinet without checking for hidden supply and drain lines.
- Run the system and check every fitting for drips before closing the cabinet, then again the next day.
Frequently asked questions
Most kits are a two-hour job with basic tools. Mounting the housing and fitting the push-in tubing is simple, but drilling a faucet hole or changing the supply line are the steps that cause trouble.
It lists what was detected in the district's water and at what level during the reporting year. Ask the Wareham Fire District or the Onset Fire District for its annual water quality report before choosing a filter.
Test the well first. A state certified lab can test for bacteria, nitrates and metals, and the result tells you whether you need disinfection, a sediment filter, or a specialty cartridge.
Follow the maker's schedule, which is usually by gallons or months. A drop in flow or a return of taste means the cartridge is spent.
Under 248 CMR 3.05, plumbing that is installed, altered or replaced generally needs a permit pulled by a licensed plumber. Ask Wareham inspectional services about local rules if you change supply piping.
Often yes, but the disposal, dishwasher lines and drain trap take up space. Measure the cabinet and consider a compact single canister or mounting on the side wall.