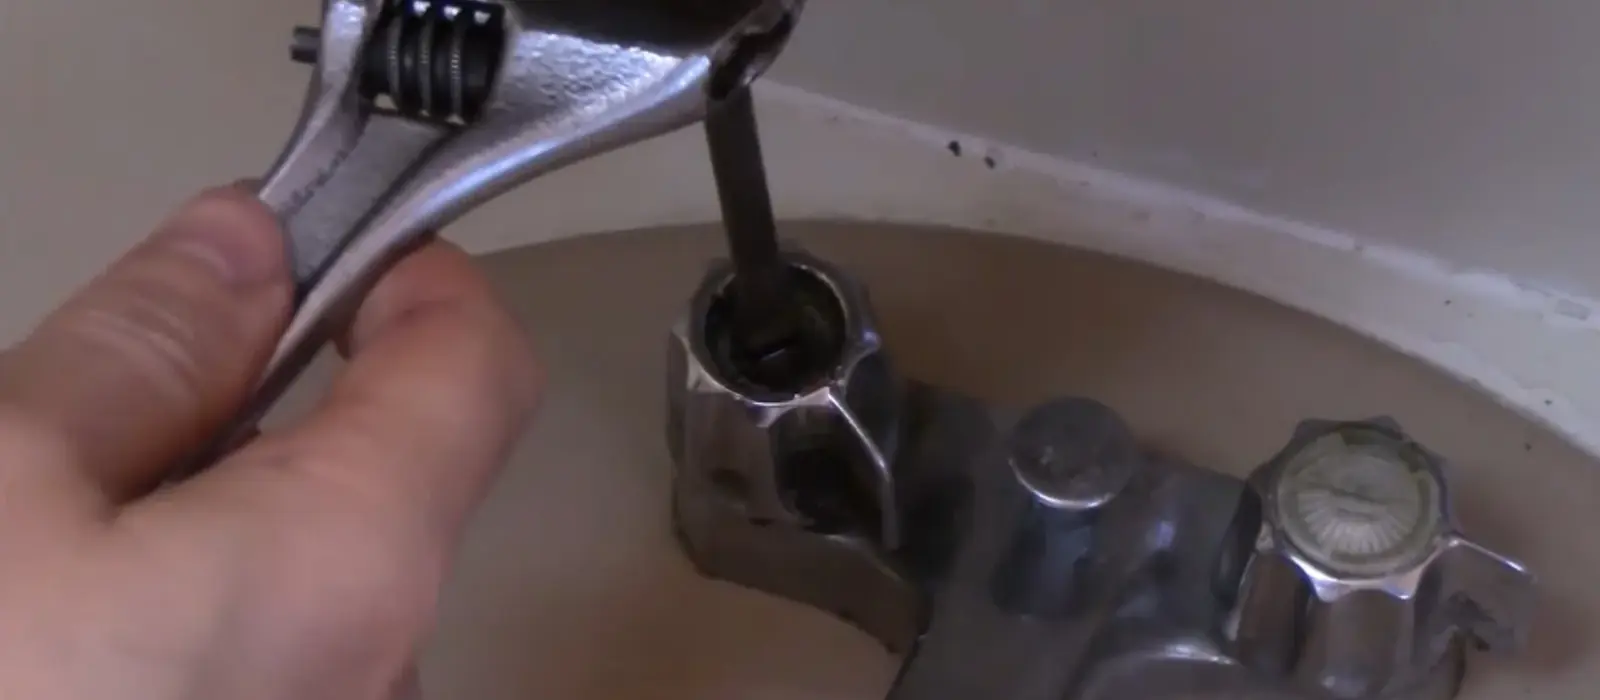
Which valve do you have?
Most modern showers use a single-handle pressure-balance valve. A rubber diaphragm or spool inside the cartridge adjusts to pressure drops elsewhere in the house, so a toilet flush does not turn the shower scalding. Older homes may still have two-handle compression valves or a three-handle tub and shower combination.
A pressure-balance cartridge usually wears at its O-rings and the rubber seals. A two-handle faucet leaks at the stem washer or seat. Identifying the style from the handle and trim ring tells you which part to buy, so check the brand name stamped on the trim or inside the cartridge.
Where the leak shows up and what it points to
Where the water appears separates a cheap part from something more involved.
Drip from the showerhead after use
A worn cartridge, seals or a damaged seat. This is the classic cartridge swap.
Water around the handle or trim plate
Failed O-rings on the cartridge or a loose retaining nut. Replace the O-rings or the whole cartridge.
Drip from the tub spout when the shower is on
The diverter is worn. On many tubs it is a pull-up knob on the spout, and the spout itself may need replacing.
Stain or soft drywall on the other side of the wall
A leak at the valve body, a supply joint or the shower arm inside the wall. Stop and call a plumber.
Before you start: shutoff and prep
Skipping the shutoff is the mistake that turns a drip into a flooded bathroom. Work through this list first.
- Look for a dedicated shower stop. Some valves have built-in screwdriver stops inside the trim, and many homes have none at all.
- If there is no stop, close the main shutoff where water enters the house and open a low faucet to drain the lines.
- Cover the tub drain with a rag so a screw does not fall in.
- Take photos at each stage so you can reassemble the trim in order.
- Bring the old cartridge to a plumbing supply counter. Valve brands vary, and a near match often leaks.
If the water cannot be shut off at all, or the main shutoff will not close, stop. Call a plumber, since forcing a stuck valve can break it.
How to replace a pressure-balance cartridge
Tools for this job are a screwdriver, hex keys, pliers and the replacement cartridge. Follow these steps in order.
- 1
Remove the handle
Pop off the cap and loosen the screw or set screw, then pull the handle straight off.
- 2
Take off the trim plate
Unscrew the escutcheon. The plastic or metal valve stem is now exposed in the wall.
- 3
Remove the retaining clip or nut
Use needle-nose pliers to pull the U-shaped clip, or unscrew the nut with a wrench.
- 4
Extract the cartridge
Grip the stem and pull straight out. Many brands include a puller tool. Wiggle it if it is stuck with mineral crust.
- 5
Install the new cartridge
Align it in the same orientation as the old one, with the hot side matching the marking on the valve body, and press until it seats.
- 6
Reassemble and test
Replace the clip, trim and handle, turn the water back on slowly, then check the showerhead and trim for drips.
Cartridge swapped and still dripping?
Call the 24/7 line. A licensed plumber can look at the valve seat and body, and a dispatcher books the next open slot.
Cartridge swap versus valve replacement
Most leaks end at the cartridge. Some do not, and it helps to know the difference before you buy parts.
A cartridge swap is enough when
- The leak stopped only after you shut off the water
- The valve body shows no cracks or green corrosion
- The drip is at the showerhead or the handle
- The valve is a standard brand with parts available
You need valve replacement when
- The valve body is cracked or the threads are stripped
- Corrosion has fused the cartridge in place
- The valve is discontinued and no cartridge exists
- Water is staining drywall or ceiling beneath the bath
When replacing the valve means opening the wall
Replacing a shower valve body is a different job from swapping a cartridge. The valve is soldered or press-fit to the supply pipes inside the wall, so the plumber opens an access hole from the back of the wall or cuts through the tile, cuts out the old valve, and fits a new body with a tested joint.
That is also work that falls under 248 CMR 3.05. A permit is needed before plumbing is replaced or altered, and it must be pulled by a licensed plumber. Ask Wareham inspectional services about local rules, and expect tile, drywall and paint work after the plumbing is done.
What each repair level involves
The table shows the typical scope from least to most invasive, so you can ask the right questions when you call.
| Repair | Wall access | Who usually does it | Typical time |
|---|---|---|---|
| Replace the O-rings | None, front only | Homeowner | About half an hour |
| Replace the cartridge | None, front only | Homeowner or plumber | About an hour |
| Replace the valve trim kit | None, front only | Homeowner or plumber | About an hour |
| Replace the valve body from behind | Access hole in the wall behind the shower | Licensed plumber | Half a day |
| Replace the valve body through the tile | Cut tile around the valve | Licensed plumber | Most of a day |
What happens in Wareham after a long winter shutdown
Wareham has a large seasonal housing stock, per the town's housing plan, and many cottages sit unheated between seasons. When a shower valve in a closed house has frozen or sat dry for months, the rubber seals can crack, so expect the first run of the season to reveal a drip. Test the valve slowly on opening day and look inside the trim before the first full run.
Source type: Wareham Housing Production Plan
Safety notes and what not to do
Do not use a torch near a wall opening unless you know what is behind it. Older Wareham homes may have wood framing very close to pipes, and a soldered joint in a stud cavity is a fire risk without a heat shield.
Mixing valve repairs also affect temperature safety. A mismatched cartridge can let the water run hotter than the thermostat knob suggests, so confirm the water is not scalding before getting in. If you have any doubt, hire a licensed plumber for valve installation.
If the leak is already behind the wall
A stain on the ceiling below, a soft spot on the drywall, or a musty smell near the shower means water is escaping inside the wall. Leak detection with a moisture meter or thermal camera can trace the source before anyone cuts drywall.
The same dispatch covers Marion and Middleborough if you own a second property there.
Frequently asked questions
The cartridge or seat is worn, and water slips past the seal. Replacing the cartridge stops this in most cases.
Only if the valve has its own built-in stop or there is a fixture shutoff nearby. Otherwise you need to close the main water shutoff, which stops water to the whole house.
Look for a stamp on the trim plate, the cartridge end or the valve body. Taking the old cartridge to a plumbing supply counter also works.
Under 248 CMR 3.05, a permit is required before plumbing is replaced, and only a licensed plumber can pull it. A cartridge swap or other repair to a working part of a valve does not need one.
Yes, when there is no access panel behind the shower. A plumber can sometimes open the wall from the back through a closet or utility space to spare the tile.
Open it slowly and look for drips at the showerhead and trim. Seals dry out and crack over months of disuse, and a drip on the first run is common after seasonal shutdown.